Introduction

  1. oWBAV1eBOPI14hde
    oWBAV1eBOPI14hde
    1VQgckrCuTCXo6Bp
    SxpQLrgDWKBQv61Q
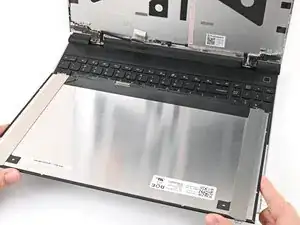
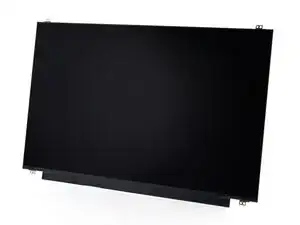
    • Place the display face down on the keyboard, with its socket close to the eDP cable.

  2. nCGD5wjcNCRYLkYJ
    nCGD5wjcNCRYLkYJ
    Snn1em1guSdAN4uw
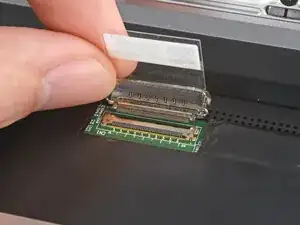
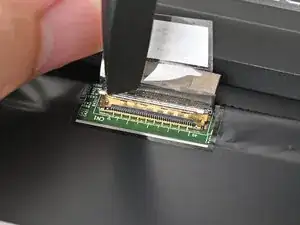
    • Grip the eDP cable where it meets the connector head.

    • Slide the eDP cable connector straight into its socket.

  3. dHOJ1WoeG3lPcUnn
    dHOJ1WoeG3lPcUnn
    YJqPasASlLIcTAOZ
    EyZLEwBZJcooVZrM
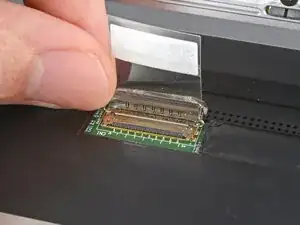
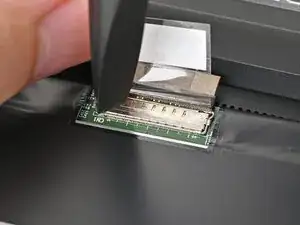
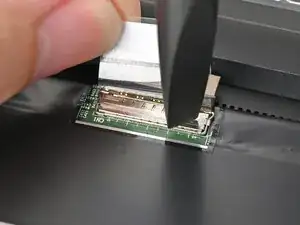
    • Push the metal locking tab down over the eDP cable connector until it snaps into place.

  4. QYEBKD4AUN4HYcXL
    QYEBKD4AUN4HYcXL
    YfaAGPK2yskBMIQm
    eWolcZxZxjUn5UG1
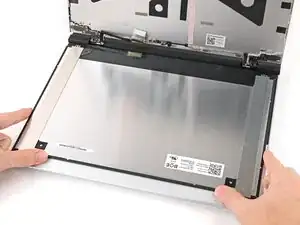
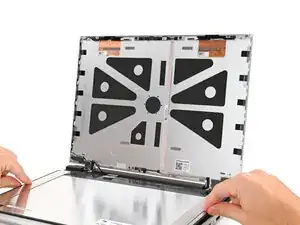
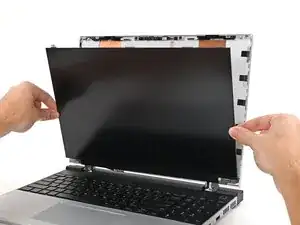
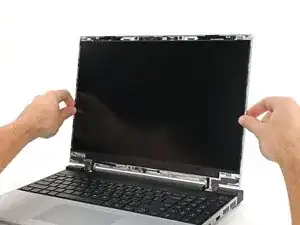
    • Align the display with its alignment pegs and place it on the Top Cover.

  5. BrxJTVW1sVejcbI3
    BrxJTVW1sVejcbI3
    OZqOaHhJNdGem5aA
    CaxZ6WNtKfppNcVq
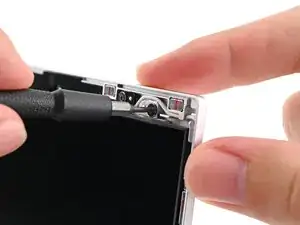
    • While supporting the display with one hand, use your Framework Screwdriver to install the four 2.4 mm‑long T5 Torx screws securing the display.

Conclusion

To reassemble your device, follow these instructions in reverse order.

Take your e-waste to an R2 or e-Stewards certified recycler.

Repair didn’t go as planned? Try some basic troubleshooting, or ask our Answers Community for help.

Alex Diaz-Kokaisl

Member since: 16/01/22

215075 Reputation

0 comments