
Introduction


-
-
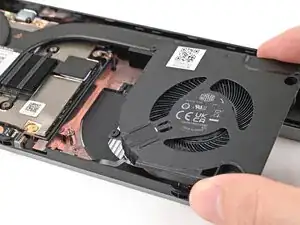
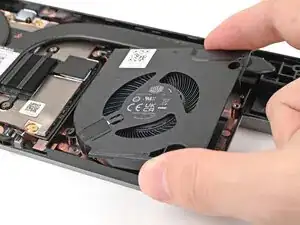
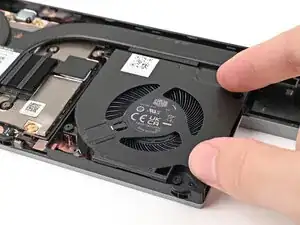
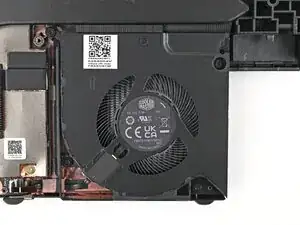
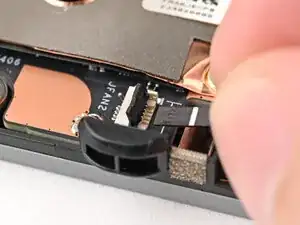
Use your fingers to grip the brown pull tab and slide the fan cable straight into its socket.
-
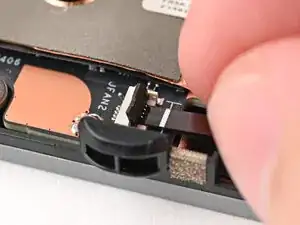
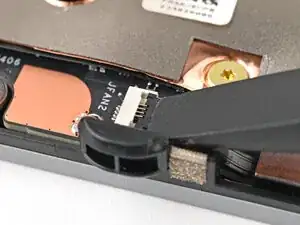
Use the flat end of your Framework Screwdriver, or a clean fingernail, to press down the locking tab on the fan ZIF connector.
-
-
-
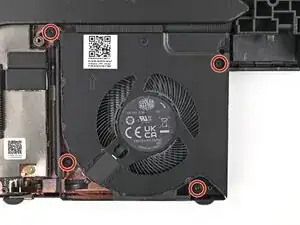
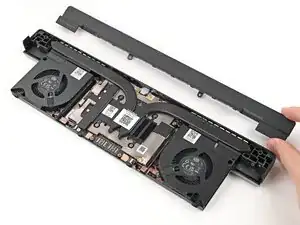
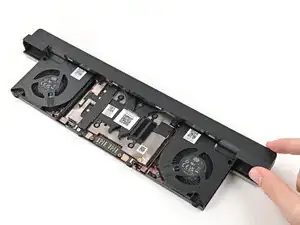
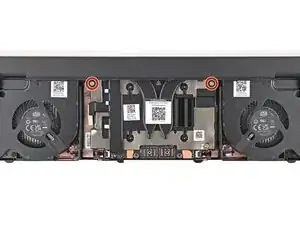
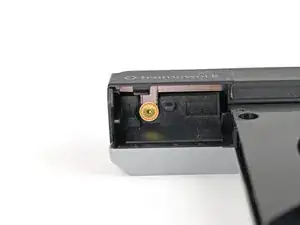
Use your Framework Screwdriver to install the four 3.6 mm‑long T5 Torx screws securing the Graphics Module cover:
-
Two screws on the flat surface of the module, next to the fans.
-
Two screws on the thin edge of the module, near the ends. You'll need to flip the module on its back edge to access them.
-

Conclusion
To reassemble your device, follow these instructions in reverse order.
Take your e-waste to an R2 or e-Stewards certified recycler.
Repair didn’t go as planned? Try some basic troubleshooting, or ask our Answers Community for help.
