Introduction

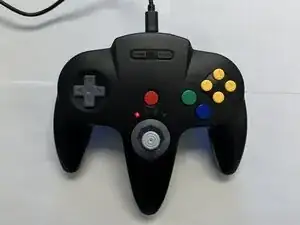
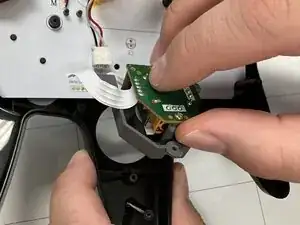
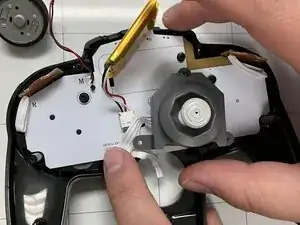
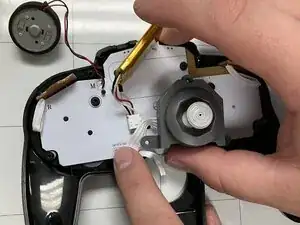
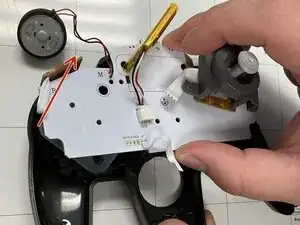
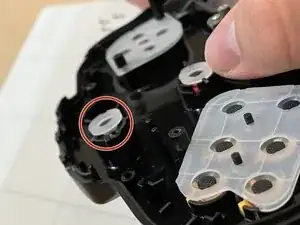
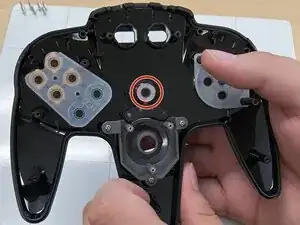
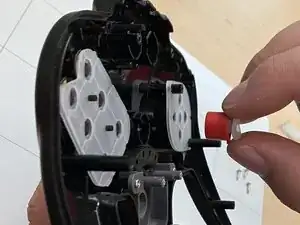
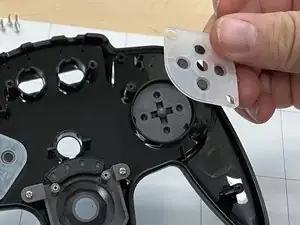
This guide shows you how to replace the buttons in your SAFFUN Wireless N64 controller.

  1. 1URhPUQfEtQohHLP
    • Before you begin, make sure the controller is disconnected and the LED indicator light is off.

  2. CRhmOFEINPcIf1Ij
    CRhmOFEINPcIf1Ij
    QDBA3B6XQkRemFdJ
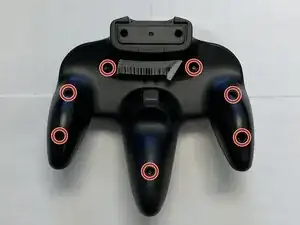
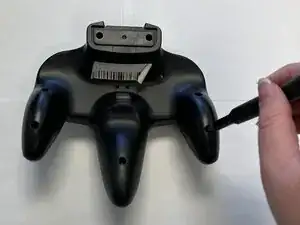
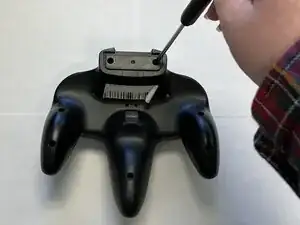
    • Use a Phillips #1 screwdriver to remove the seven 9.3 mm screws from the backplate.

  3. DbIEQB6wCbrMjUYE
    DbIEQB6wCbrMjUYE
    J2jJN1cRtOPli5vN
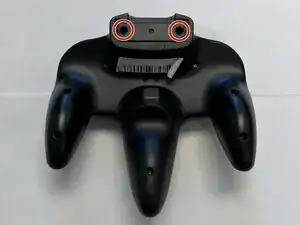
    • Use a Phillips #1 screwdriver to remove the two 9.3 mm screws.

    • Use a screwdriver with a shaft length of at least 60 mm to reach the deep-set screws.

  4. XfctiaDICinM6WqN
    XfctiaDICinM6WqN
    2RtcNInWKkJlHsmM
    jJNZCgkmeInJDhoX
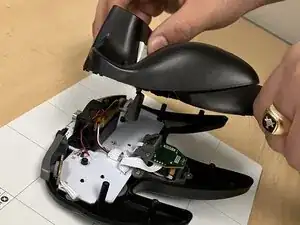
    • Slide an opening pick along the edge of the rear cover to release the clips.

    • Gently remove the back plate from the controller.

  5. Q2mlnnDJOiTpJQBJ
    Q2mlnnDJOiTpJQBJ
    vOwGSJQRjOEYUYJY
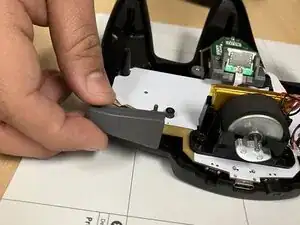
    • Remove left and right bumpers.

  6. OWMO6QvPPVBXWUkL
    OWMO6QvPPVBXWUkL
    FVLVRepZqbmSs1Uf
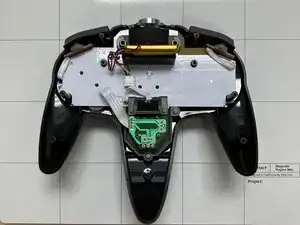
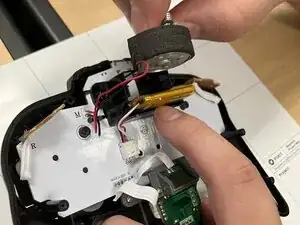
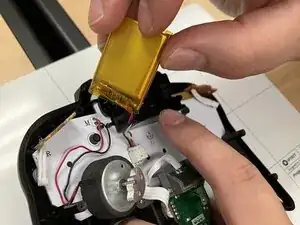
    • Remove battery, rumble motor, and set aside.

    • Do not rip out the wires.

  7. pEJdngoOlGrYTFgI
    pEJdngoOlGrYTFgI
    Z3u3hitNZQQRrRvL
    SHlOuGCtFHfgubmf
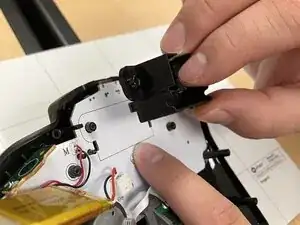
    • Remove the plastic holder from the motherboard.

  8. S552qkvGKcSQ4Sne
    S552qkvGKcSQ4Sne
    vvvyLc4sDpvDDUgf
    vkwULjcZwXipiWKs
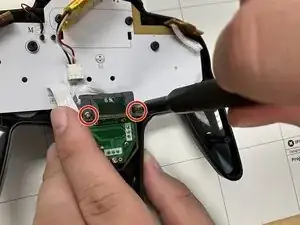
    • Use a Phillips #1 screwdriver to remove the two 7.2 mm screws on the Z-Button board that reinforces the joystick board.

  9. OrXIX2QQOklCdqvP
    OrXIX2QQOklCdqvP
    s3hPTGVROKB1ugIt
    KmLWc2IjDylDDcTi
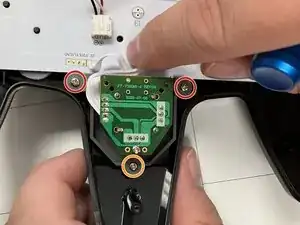
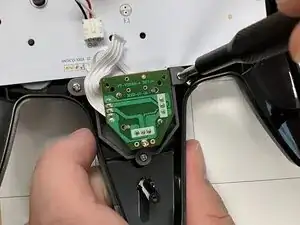
    • Use a Phillips #1 screwdriver to remove:

    • Two 9.3 mm-long screws

    • One 7.3 mm-long screw

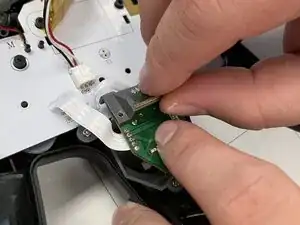
    • Remove joystick board.

  10. BQHVwMwJRo21WdbC
    BQHVwMwJRo21WdbC
    fofAFUFygW2y2oNa
    K6rW3PfF2UXZNfbU
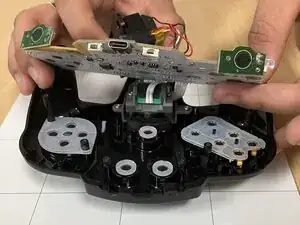
    • Place joystick onto motherboard.

    • Carefully lift the motherboard by its edges and remove it from the case.

    • Use a spudger to lift the board slightly, then remove it by hand.

  11. 1NUiy4AI4TCheJwn
    • Lift up and away from the controller.

  12. he6tXDffgTr6VSTC
    he6tXDffgTr6VSTC
    cvrATZRkIhlCQURt
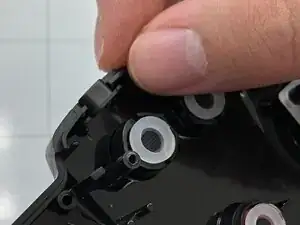
    • Take out the little black button at the top.

  13. T5aoYpywRmtsK5Lv
    T5aoYpywRmtsK5Lv
    Ta5s6wQvWpfyR3vQ
    jtbkDKrtMYMlprke
    • Pop out the right home button with your finger on the outside of the frontplate.

    • Make sure the home button is placed back in the correct slot when replacing.

  14. tn6A2LscUQTV4Rod
    tn6A2LscUQTV4Rod
    sV44WNRVonoglkJn
    • Pop out the left select button with your finger on the outside of the frontplate.

    • Make sure the select button is placed back in the correct slot when replacing.

  15. nF44l6FrfHPv2Fo2
    nF44l6FrfHPv2Fo2
    BxyYrq5YtGUGHfgK
    iRQbfHElKMOpSJUZ
    • Pop out the start button with your finger on the outside of the frontplate.

    • Make sure the start button is placed back in the correct slot when replacing.

  16. rqipwiRbpegD5NLZ
    rqipwiRbpegD5NLZ
    i2WQPAaCgWDUIvIl
    sBL1CfNV4LlOeBrV
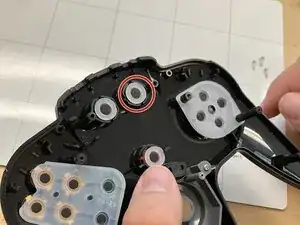
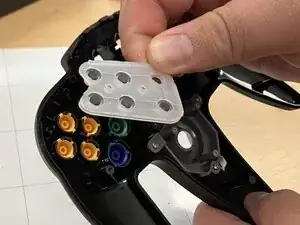
    • Remove rubber covering.

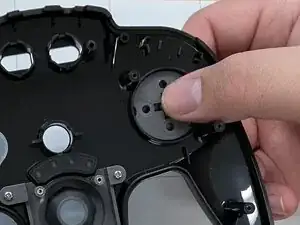
    • Pop out the D-Pad with your finger on the outside of the frontplate.

    • Make sure the D-Pad is placed back in the correct slot when replacing.

  17. lvhjmQiNAVkHVBfQ
    lvhjmQiNAVkHVBfQ
    3RLInynlPhd6wlsU
    5VEDwvwcboo2pvca
    • Remove rubber covering.

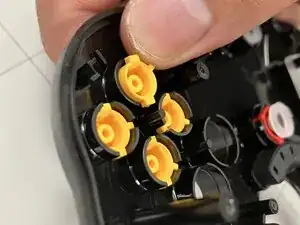
    • Pop out each yellow button with your finger on the outside of the frontplate.

    • Make sure each yellow button is placed back in the correct slot when replacing.

  18. WylFfno4FhCmHJD1
    WylFfno4FhCmHJD1
    SJSl6J22utMTj2Pv
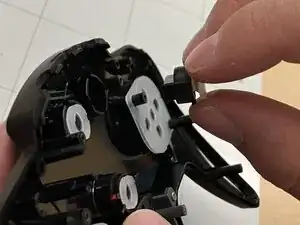
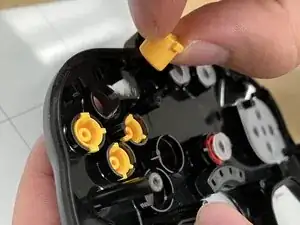
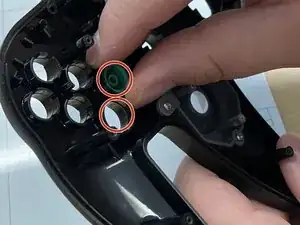
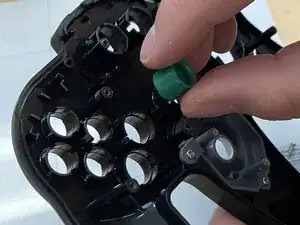
    • Pop out blue and green buttons with your finger on the outside of the frontplate.

    • Make sure each button is placed back in the correct slot when replacing.

Conclusion

To reassemble your device, follow these instructions in reverse order.

Jacob Overcash

Member since: 23/09/25

541 Reputation

0 comments